Storage is always an nearly always an issue in a rental. Even more so as a student. And a while ago, I was still using this lovely piece from Walmart for my jewellery and accessories, left over from my university days…
Eek! As I said before, our bedroom fell to the bottom of my list of priorities. When I got along to changing it, I thought I’d like something similar, with three drawers, but maybe just a tad classier. I did not realize how expensive these things were! Take this one I pinned from Anthro for example:
Adorable, but I could hardly justify the $300 price tag! Doesn’t really look like it could store all that much either.
So I hit up my local thrift shop, and found this!
I fell in love with the detail on the doors, so I couldn’t resist. It was a bit more of a an endeavour than I was planning to take on though… Not only did I need to paint it all, I would need to recover the inside:
Painting:
I sanded (120 grit), primed and painted it in a fresh coat of white paint. I found using a small roller was easiest on the large sections, and a craft paint brush for the more detailed areas. To do the doors, I used a stiff craft brush and painted it like I would a stencil. I found this the best way to get into all the cracks and crevices.

Tip: I primed and painted both the drawers and the inside of the box itself. Unfortunately, this added a thick extra layer, and the drawers can get a bit sticky. Knowing this, I would only have painted the drawers, not the inside. Time saver too!

In terms of hardware, I unscrewed the doors and lid while painting, but I did leave the pulls on the doors and drawers. They just seemed too old and fragile to tangle with. I painted around them as best I could, and then touched up with a gold art pen. Since one of the top pulls was broken, I broke off the other and replaced them with beads.
Looks lovely from the outside, but on the inside, you’re still stuck with this unsightly and ageing orange felt. Not nearly as bad as before, and somehow the camera makes it look more flattering than in reality, but all in all, it needed to go.
Recovering the drawers:
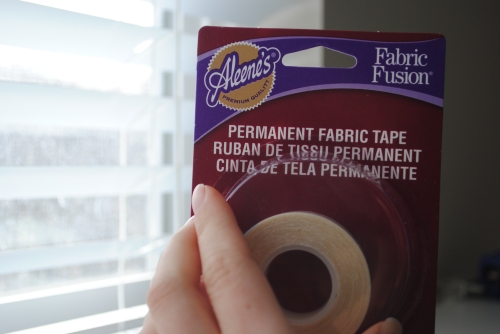
I used Aleene’s Fabric Tape to adhere my fabric to the felt. In using a dry adhesive, I wouldn’t have any glue seeping into my pretty new material.
First, I measured out the amount of fabric I would need, and pushed it into the box like it would later sit.

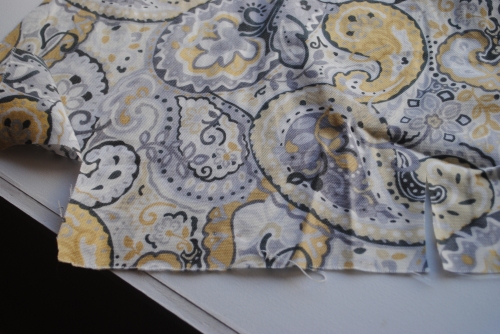
Then, along the fold you see me pointing to in the picture, I cut down to the bottom of the box. I did this on all four sides, so my material ended up looking like this:
This way, I could tuck the corners behind to make a box. The shorter sides of the drawer had the excess fabric, so then I could tuck that behind the larger sections.

I attached the bottom of the drawer first. Then, I adhered the shorter sides in place, with the ends branching over to the width of the drawer.
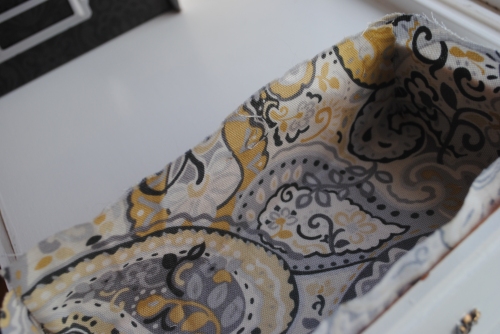
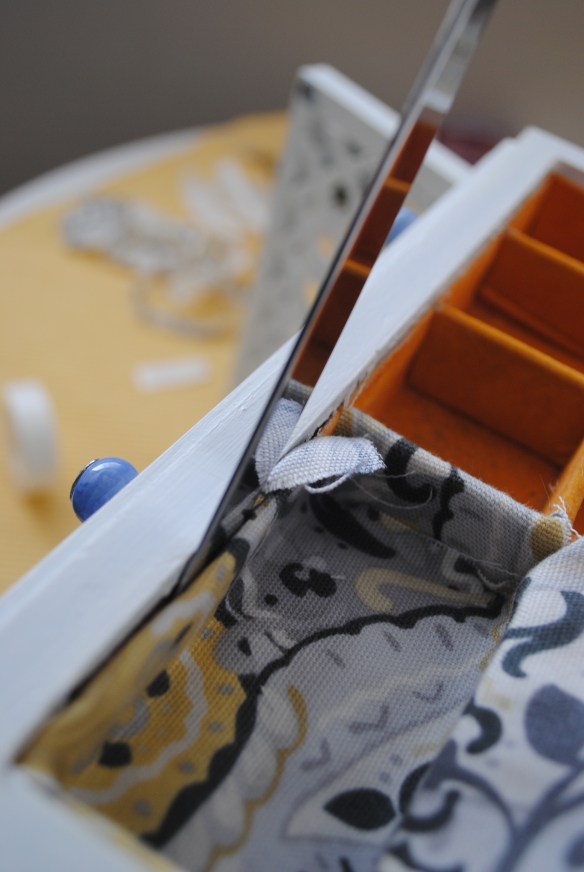
I finished the longer sides too, cutting any excess fabric if needed. I made sure to keep about half an inch at the top to tuck behind the orange felt. I pried open the top end of the felt with a basic kitchen knife, and then pushed the new fabric into place with the knife.
To do the top section, I followed a similar process, with a bit of tweaking.
First, I removed a few of the ring “holders”, since I don’t wear many rings. I adhered one piece to cover the left and right sides of this section.
Then, I cut a piece long enough to cover that section vertically, as well as all the ring holders. Using the tape and my knife, and pushed and adhered each section in place. Like I did with the drawers, I pried off the orange felt with my knife, and the pushed the new fabric in place.
To cover the square sections, I adhered small square strips of fabric to cover the sides.
Then adhered strips to the other sides and bottoms. The strips were long enough to fit all three squares and were the same width as one square.
To finish off, I trimmed any extra thread and glued any loose sections. I added little “handles” using beads to polish off the doors (the glue was E6000 from Michaels).
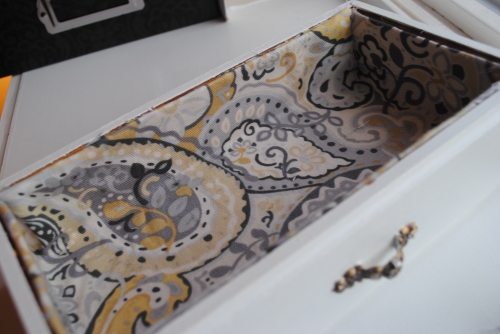
… and after!
I am thrilled with the results. As an added bonus, the top section sorts out my jewelry so much better than plain old drawers, so I can easily find the piece I’m searching for, without having to worry about a knot of necklaces.
Completely worth the effort I put into it!





Wow thats an amazing transformation. Looks like the fabric part was pretty time consuming, but well worth it.
I tackled a $5 drumshade, feel free to check it out: http://blackandwhiteobsession.blogspot.com/2013/02/pinterest-challenge-drum-shade.html#more
Thanks! Surprisingly, it was actually the painting that took forever. I got the fabric done in an afternoon!
Pingback: Clean Out the Paper Clutter: Receipts | L'amour chez nous
Hi there…I’m visiting from Serenity Now. Your jewelry box is super-cute!! I just painted my own as well, but never thought to put new fabric on the inside! You’ve inspired me! I especially love the addition of the beads! Genius!
-andi
Thanks Andi! I’m glad you liked the beads idea. I couldn’t think of anything else small enough that would work as pulls.
That is absolutely beautiful! Nice job :)
–Elena
acasarella.net
What a beautiful job you have done with this!! I love it. Makes me want to go look for an old jewellery box to pretty up!
Thanks! So worth it once you’re done. Thanks for stopping by here too!
Pingback: Clean out the Paper Clutter: Memo Board | L'amour chez nous
Pingback: Pretty No-Sew Placemats | L'amour chez nous